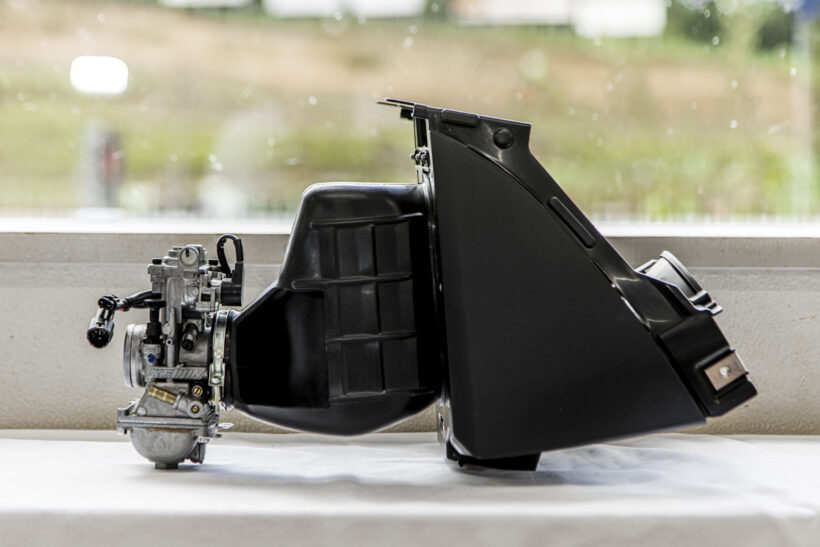
![Installing a leg bumper and muffler on a Monkey 125! Muffler removal and bumper installation steps! [Video: Moto Champ TV]](https://motopeek.com/wp-content/uploads/2025/09/1771-1761129093992.jpg)

Special Parts Takegawa (hereinafter referred to as SP Takegawa) has released a leg bumper kit for the Monkey 125 (JB05), so we would like to introduce the installation procedure. Since the original muffler must be removed to install it, we would like to replace the muffler with the Scrambler muffler released by SP Takegawa. There are probably many Monkey 125 owners who think this way. So, this time we will introduce the installation procedure by putting together a digest of the video ` `Trying to install a leg bumper and muffler on a Monkey 125! ” from Moto Champ TV , which distributes free videos on YouTube.

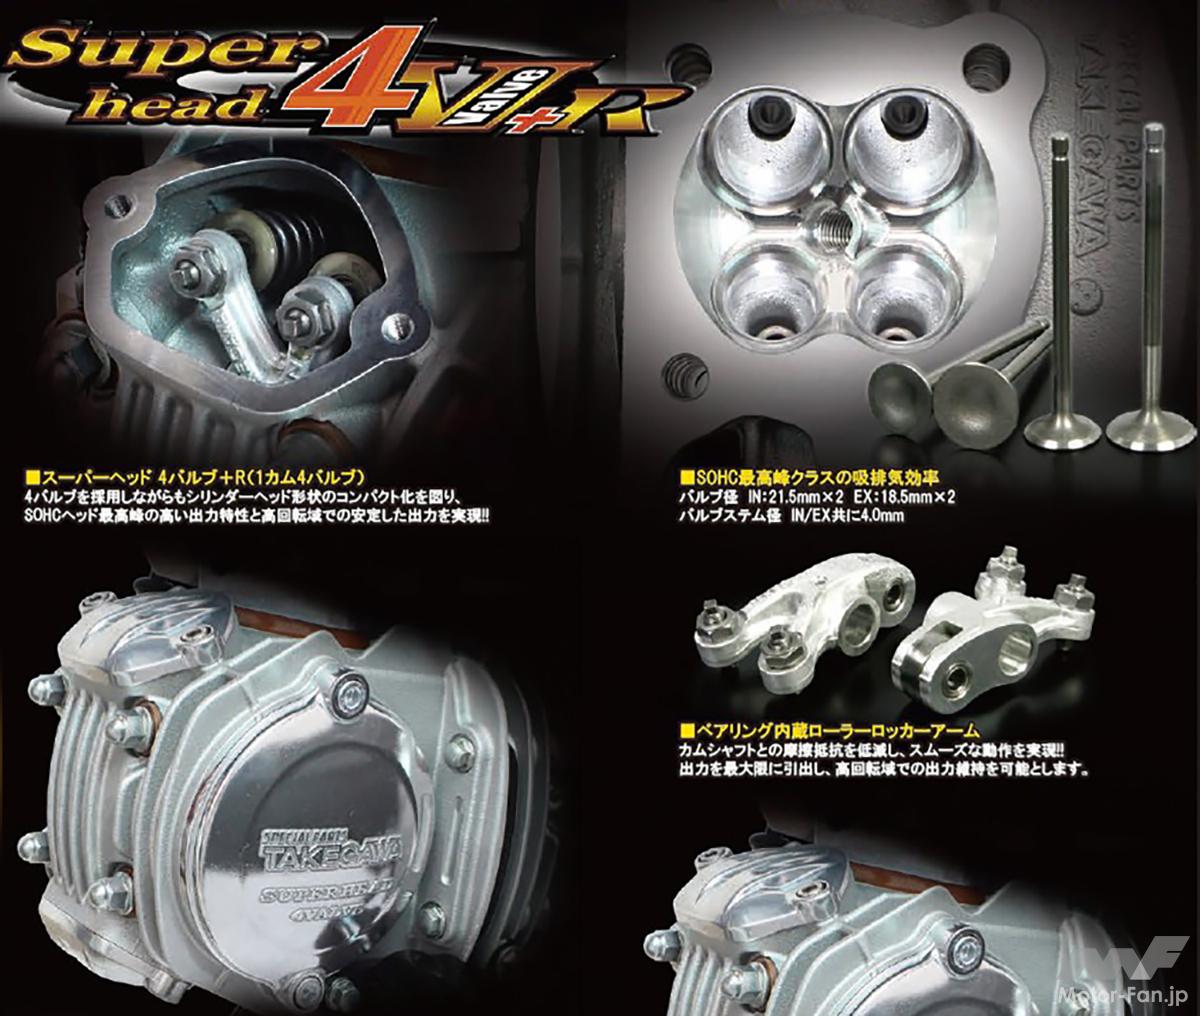
SP Takegawa is selling a leg bumper kit.
The leg bumper kit to be installed is shown in the photo above and is sold for 49,280 yen (tax included). Since it is merely a leg bumper, it is not as strong as an engine guard, but it will protect your legs from grass and other things when riding off-road. If you install the separately sold shield, it will also make your legs more comfortable in winter as it will prevent the wind from hitting them.

The muffler will also be replaced at the same time as the leg bumper is installed.
To install the leg bumper, the original muffler had to be removed, so a scrambler muffler was also installed. The volume is kept low due to government certification, but the single-cylinder pulsation is appealing.
Remove the original muffler
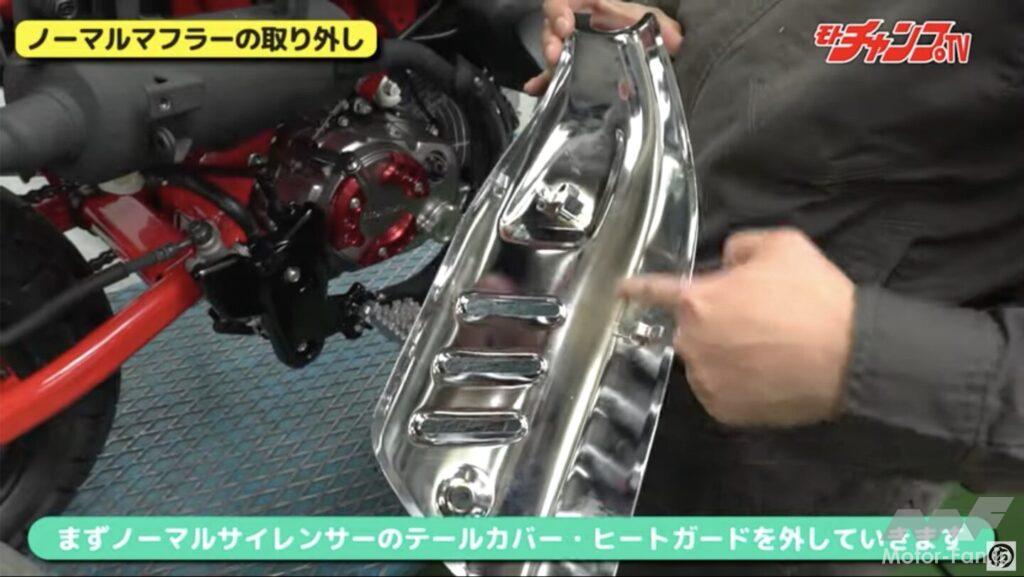
Start by removing the muffler. Remove the tail cover first.
The procedure begins by removing the original muffler. Before removing the muffler itself, remove the tail cover attached to the silencer end. After removing the two bolts, simply pull it out by hand.
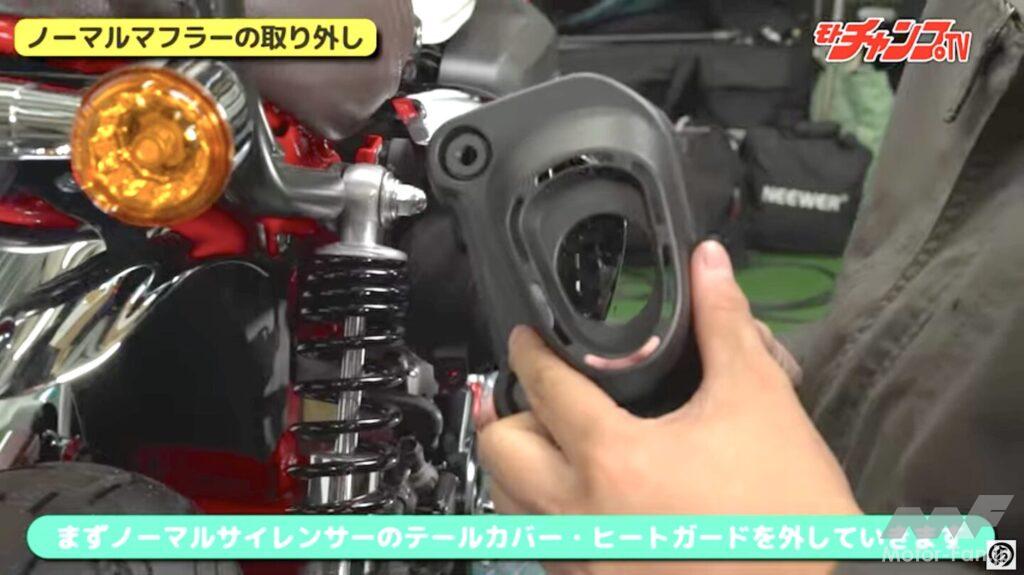
Remove the bolts on the genuine heat guard and pull the three tabs towards you to remove it.
Next, remove the exhaust pipe heat guard and silencer heat guard. The exhaust pipe side can be removed by simply removing the bolts, but the silencer side cannot be removed unless you remove two bolts and then pull it towards you. This is because there are three claws on the inside that fit into the protrusions on the silencer.
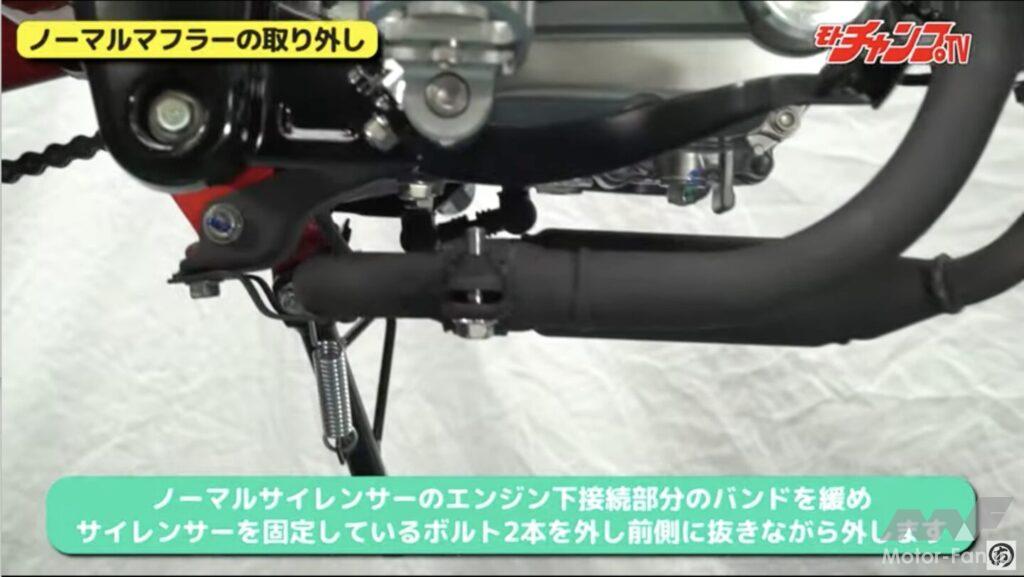
Loosen the band at the exhaust pipe connection under the engine.
Next, loosen the bolts on the exhaust pipe and muffler connection band located under the engine. There is no need to completely remove the bolts, just loosen them.

After removing the silencer fixing bolt, remove the original muffler by pulling it out from the band.
Remove the two bolts that secure the silencer and then separate it from the exhaust pipe. Pull it towards the front of the vehicle to remove it.

Remove the flange nut and the bolt under the engine to remove the exhaust pipe.
Remove the remaining genuine exhaust pipe. Remove the two flange nuts on the engine side and one bolt securing the exhaust pipe near the bottom of the engine, and you can remove the exhaust pipe.
Loosen the clutch cable
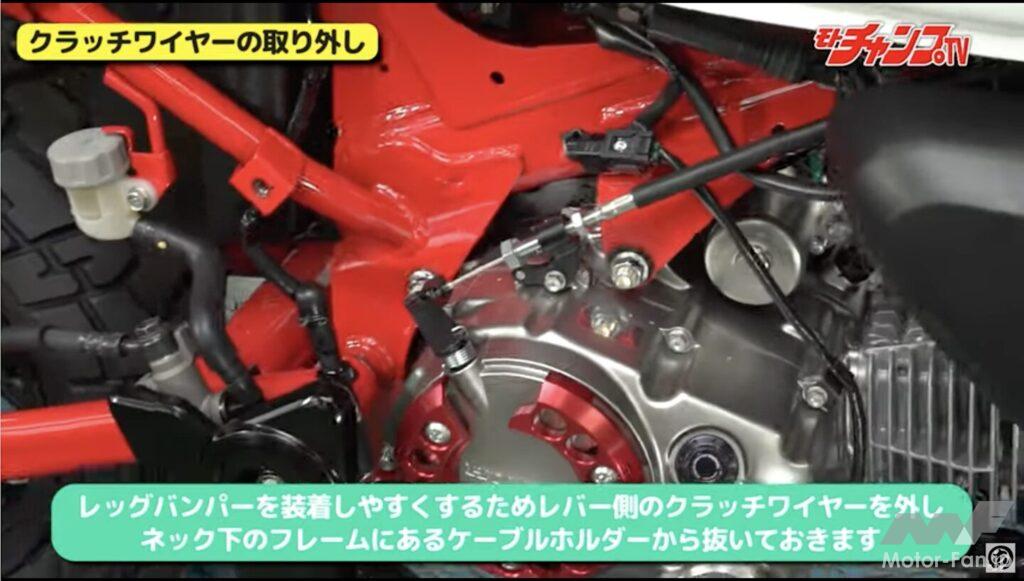
Loosen the two clutch cable nuts.
Since it gets in the way when installing the leg bumper, loosen the clutch wire beforehand and move it to a place where it won’t get in the way. First, loosen the two nuts on the engine side so that the wire can move.

Remove the clutch cable from the lever and remove it near the engine.
Next, remove the wire from the lever. Since it is loosened on the engine side, there is some slack in the wire, so you can remove the wire by removing the wire stopper from the lever. Push the wire down and away from the frame.
Attach the leg bumper
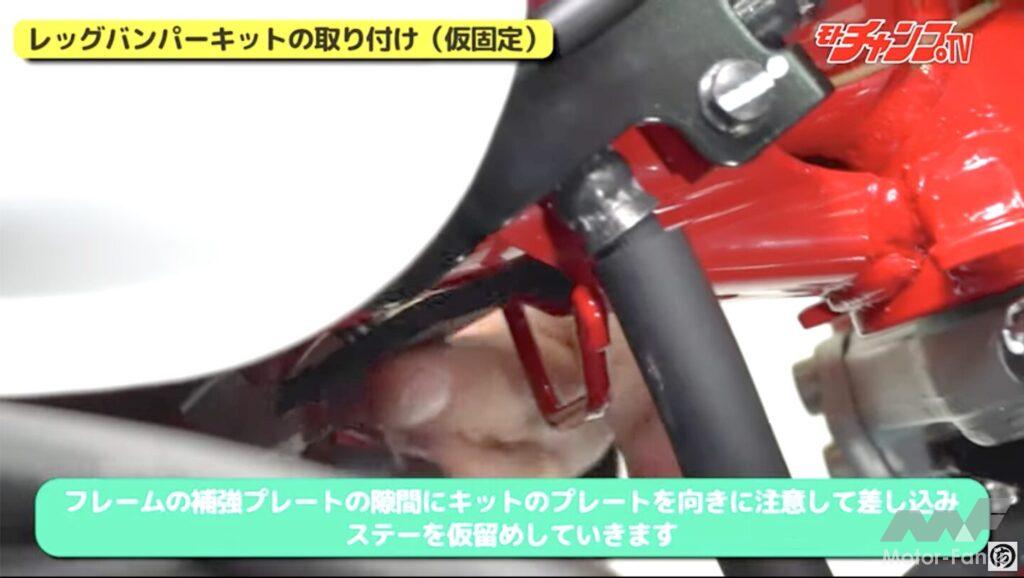
Insert the plate included with the leg bumper kit into the gap under the frame.
Attach the plate and stays that come with the leg bumper kit to the vehicle. First, insert the plate into the gap between the reinforcement and the frame. There are holes in the reinforcement, so align them with the holes in the plate.
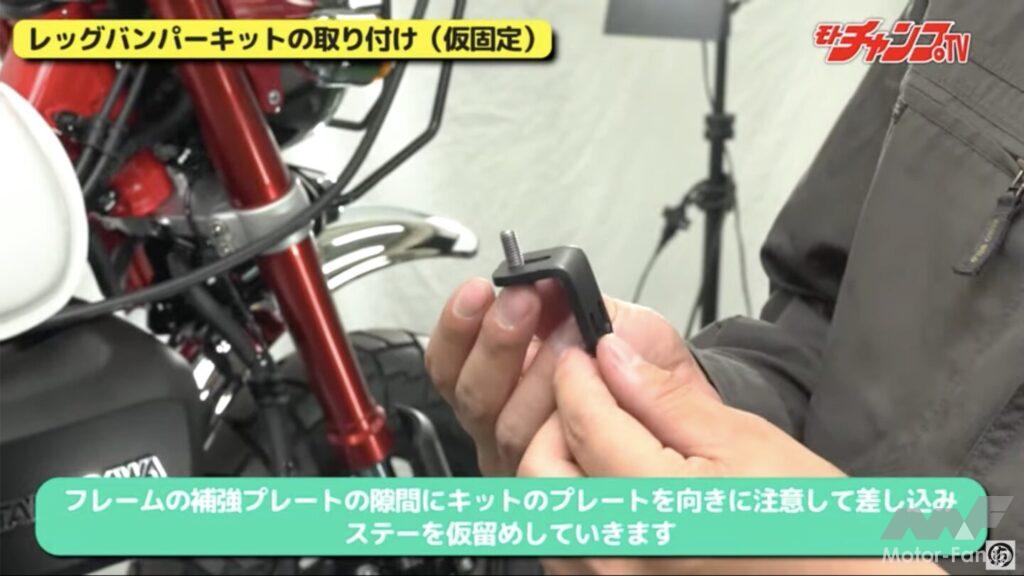
Connect the stay to the plate placed under the frame in the orientation shown in the photo.
Fix the L-shaped stay to the plate placed between the frame and the reinforcement using the bolts included in the kit. At this stage, temporary fastening is sufficient.

Connect the joint bar to the L-shaped stay in the direction shown in the photo.
Next, prepare the joint bar to which the leg bumper will be attached in the orientation shown in the photo. Place the collar over the bolt that was passed through the L-shaped stay that was just connected, and connect the joint bar.

This is what it looks like from the right side of the car.
The joint bar is attached to the L-shaped stay. This is also fine for now, but you can tighten it to the specified torque after attaching the leg bumper.

Insert the leg bumper into the joint bar and secure it with a bolt to the hole under the engine.
After connecting each leg bumper to the joint bar, secure the bottom of the leg bumper using the holes under the engine. Once both sides are secured, tighten the temporary fastenings to the specified torque.
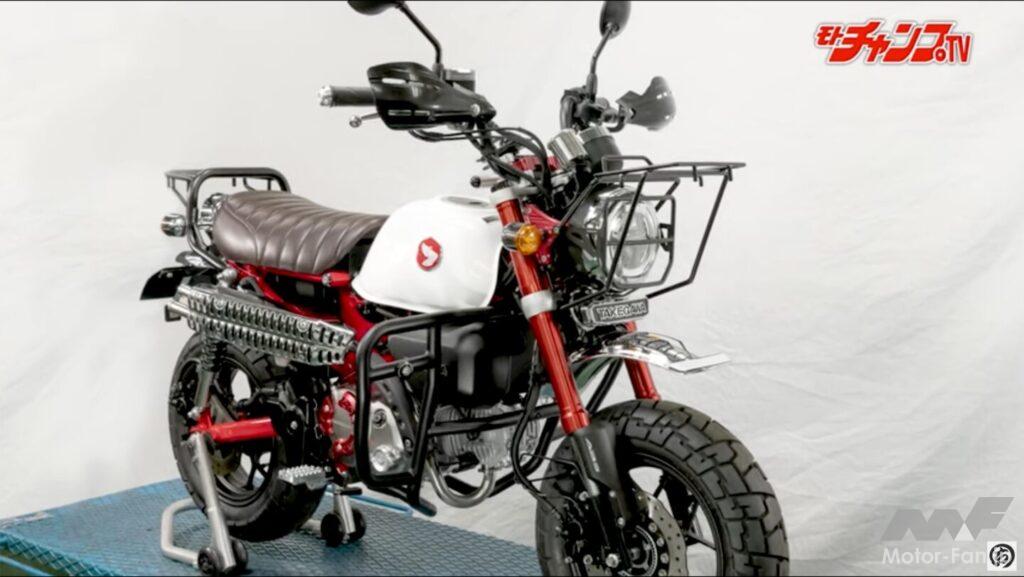
Here is what it looks like with the leg bumper attached.
Installing the leg bumper kit will transform your bike into a tough looking bike, as shown in the photo. It is designed to protect your legs from damage when hitting bushes or tree branches while off-roading, but it is not as strong as an engine guard in case of a fall. If you fall over while standing, the engine will not be damaged.
Installing a Scrambler Muffler
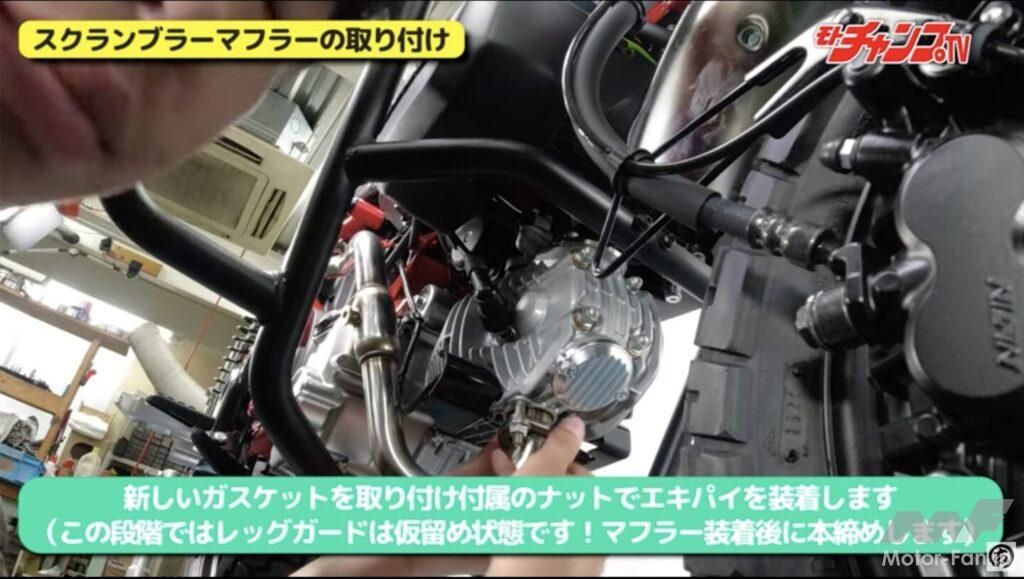
After installing the leg bumper, attach the Scrambler muffler exhaust pipe to the engine.
To install the Scrambler muffler, first assemble the exhaust pipe. Secure the exhaust pipe to the bottom of the engine using the flange nuts included in the kit.
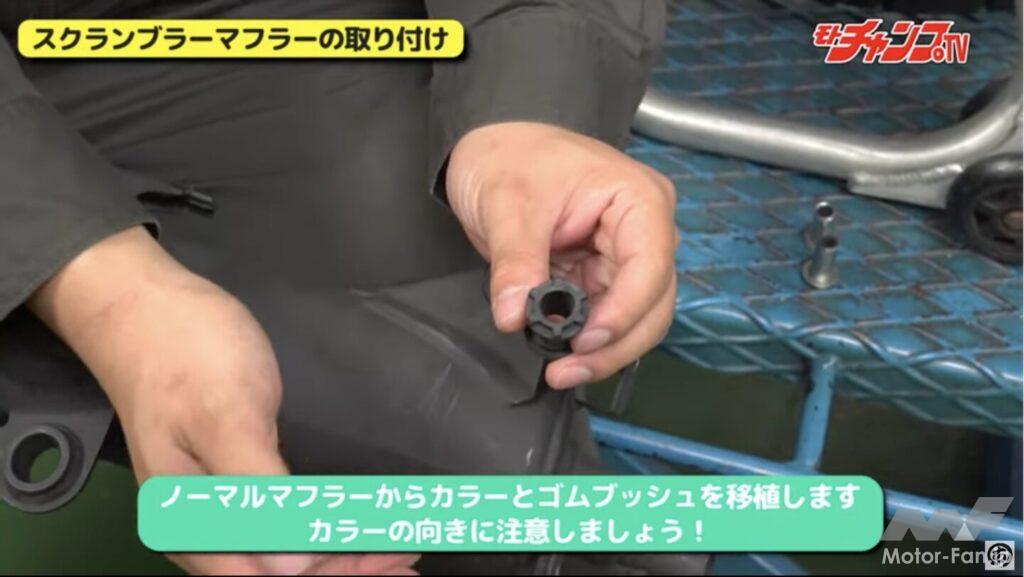
Remove the collar and rubber bushings from the original muffler and transplant them into the Scrambler muffler.
Remove the plated collar and rubber bushing from two places on the genuine silencer. Transfer this to the exhaust pipe of the Scrambler muffler and secure it to the vehicle body.
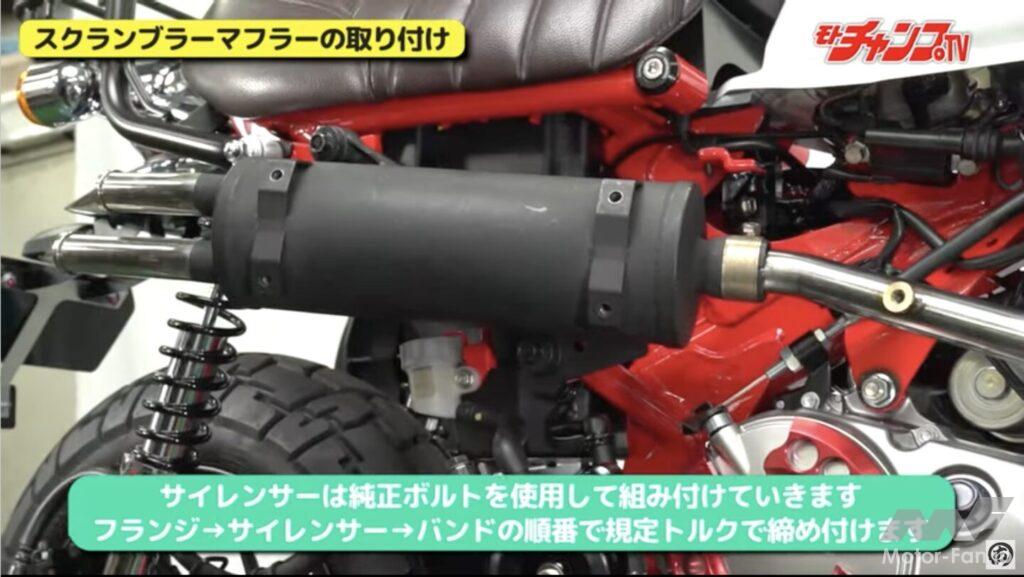
Once connected to the exhaust pipe, secure the muffler with the original bolts.
After attaching the band to the silencer, connect it to the exhaust pipe. At this time, applying liquid gasket to the inside will prevent exhaust leaks. Pass the bolts through the transplanted rubber bushing and collar and secure it to the vehicle body.
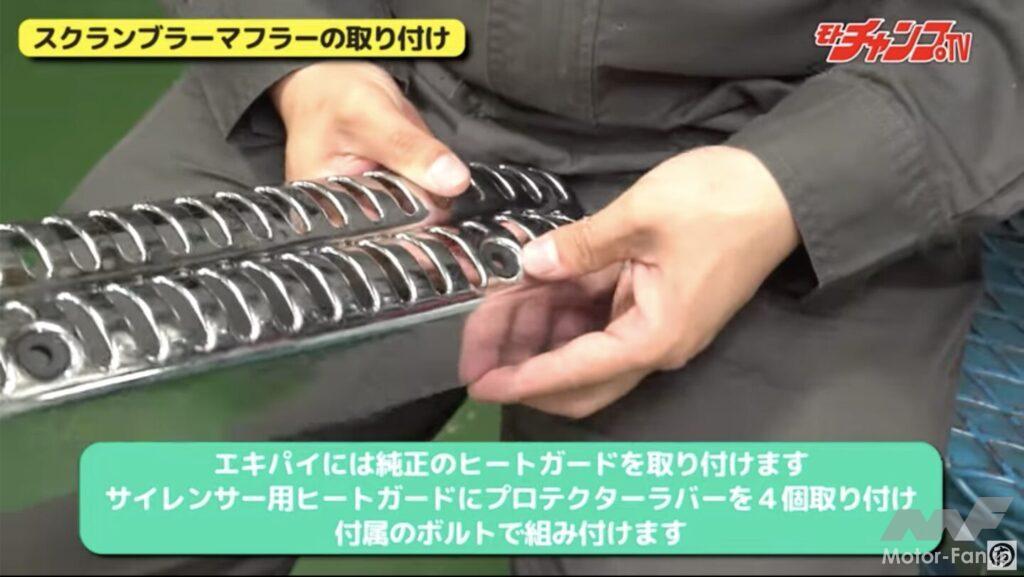
Attach four rubbers to the heat guard and secure it to the silencer.
Attach four protector rubbers to the heat guard of the Scrambler muffler. Then secure it to the silencer with the bolts included in the kit. The stock heat guard for the exhaust pipe is transplanted.
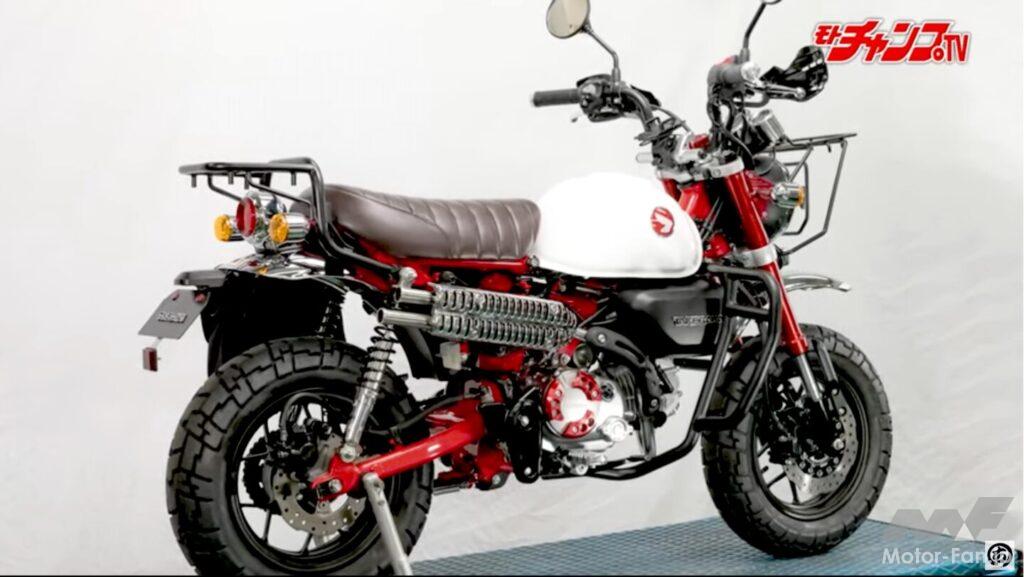
Rear style with scrambler muffler.
Once the heat guard is installed, tighten each part to the specified torque in the order of exhaust pipe, silencer, and band, and the work is complete. By installing it at the same time as the leg bumper, the look of the Monkey 125 has changed dramatically. The pulsating muffler sound is also attractive, and if you install block tires, you will be able to enjoy off-road driving.